Welcome to the comprehensive and easy to use user guide for Gallery Mojo Plugin.
This guide covers almost all the elements you need to know about Gallery Mojo Plugin. You should read through everything first before you start installing and running the plugin.
Each sections comes with illustrative screenshots and comprehensive explanations.
This guide is designed to be read “step-by-step”, from start to finish.
How to Ask for Support
If you need any support or have any questions regarding Gallery Mojo Plugin, feel free to contact me via helpdesk support system.
Remember to include your purchase code for verification purpose.
Installing the Plugin
First, login into your WordPress admin dashboard.
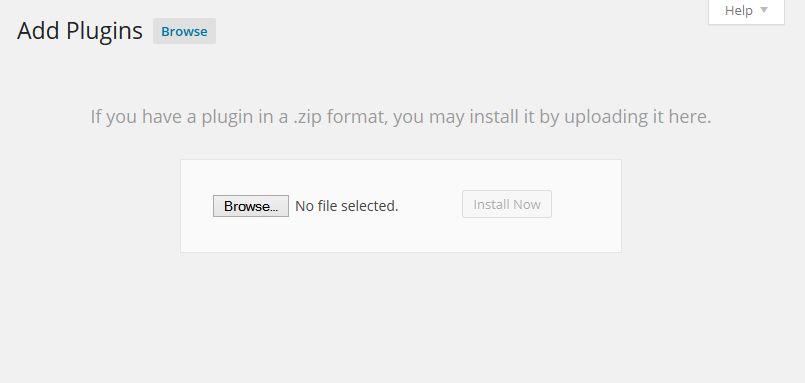
Next, go to Plugins > Add New. Then, select the zipped plugin file (layers-gallery-mojo.zip) and press install now.
Once you’ve successfully installed the plugin into your WP site, proceed to activate the plugin.
Setup Gallery Mojo
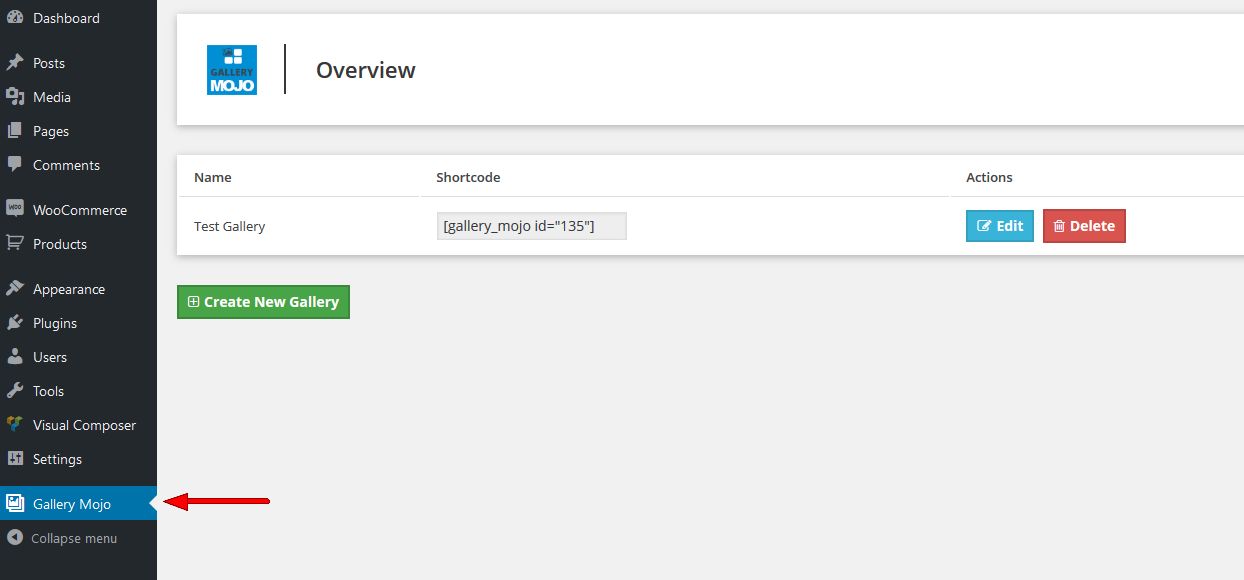
First, login to your Admin Dashboard, and look for Gallery Mojo.
To add a new gallery, simply click the Create New Gallery button.
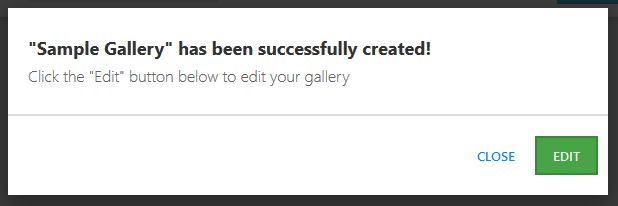
Next, insert a name, and then hit Create button.
Once a new gallery has been created, hit the Edit button to start edit the gallery settings.
3. Insert the hero’s excerpt
There are 6 different sections in each gallery settings page
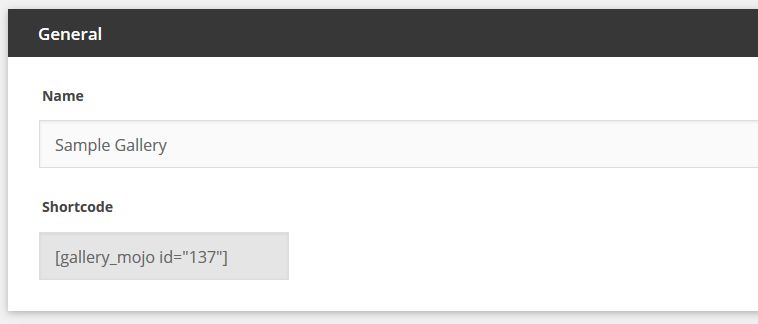
1. General
In this section, you can change the name of your gallery, as well as retrieving the gallery shortcode.
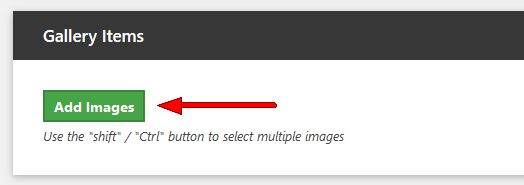
2. Gallery Items
Here you can add images into your gallery by clicking the Add Images button.
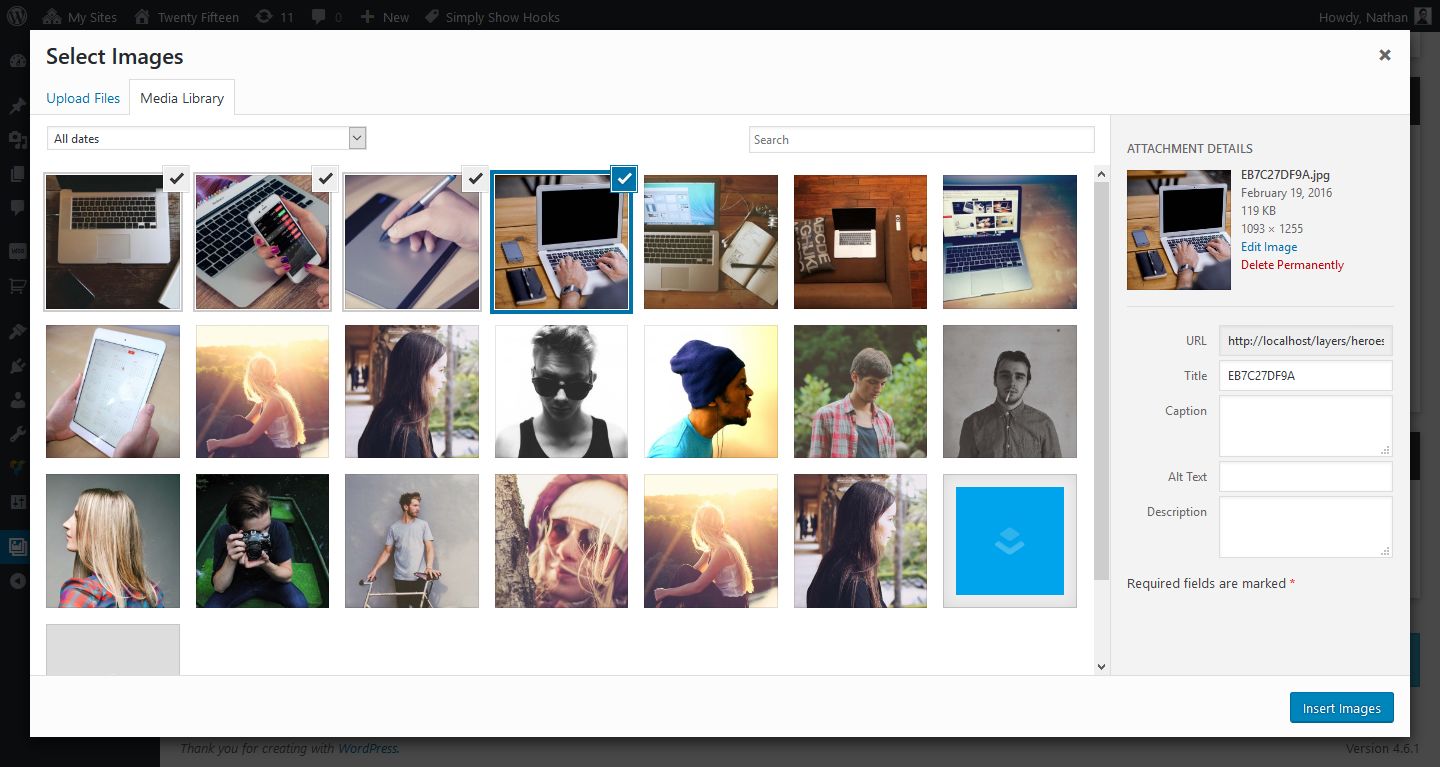
Once the media library is fully loaded, simply select images you want to add ( Use the “shift” / “Ctrl” button to select multiple images ), and click Insert Images.
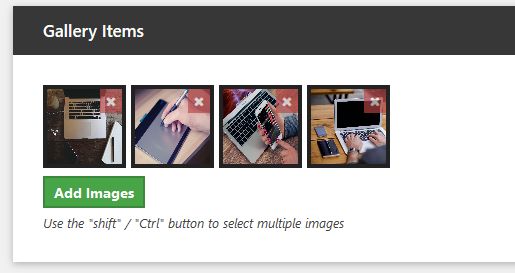
Once you’ve added images into the gallery, you can re-arrange its position by simply drag & drop. To remove an image, simply click on the red X button on the top right corner.
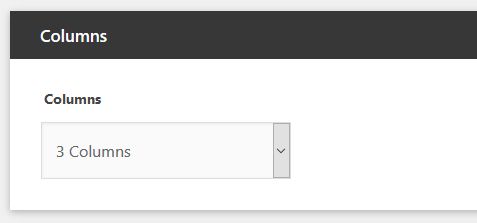
3. Columns
Here you can choose the number of columns for your layout (to a maximum of 6)
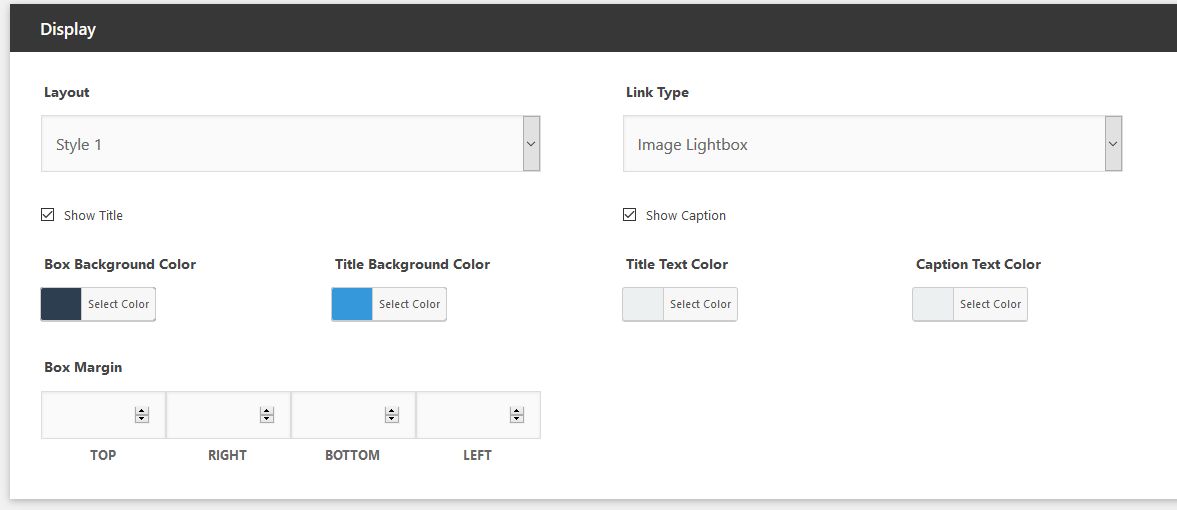
4. Display
This section lets you change the look and feel of the image box on frontend, including the style, color, as well as which components should be displayed on frontend.
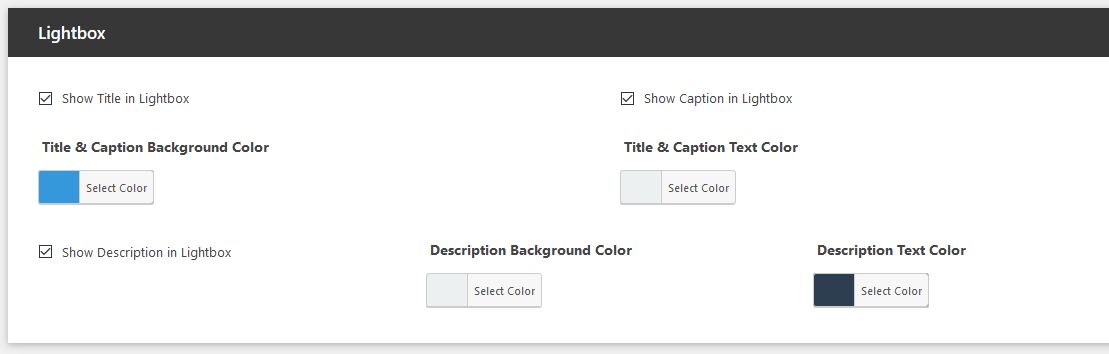
5. Lightbox
This section lets you modify the look and feel of the image lightbox. If you want to disable the image lightbox, simply go to Display > Link Type, and select None.
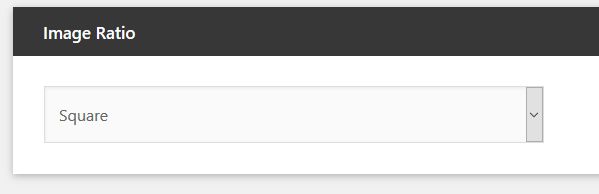
6. Image Ratio
This section lets you change the image ratio for each photos in the gallery.
Remember to click Save Changes once you’ve updated the settings.
Fixing Image Size Issues
If you’re having problems with your images in Gallery Mojo being too small, blurry, or uneven, here’s a step-by-step instructions on how to fix this problem.
IMPORTANT: Before we proceed, please make sure all your images have at least 500px of width. Otherwise, your image would be too small, and the instruction below won’t do any good to you.
2. Once you’ve installed the plugin, proceed by activating it.
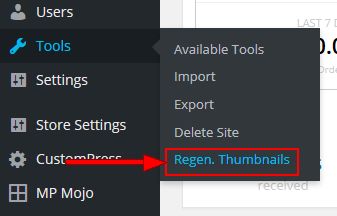
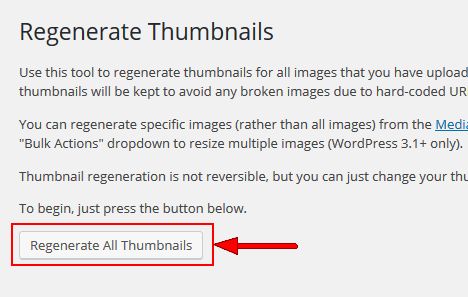
3. Then, go to Tools > Regen. Thumbnails,, and press Regenerate All Thumbnails button to regenerate all the images in your site. This might takes a while, especially if you’ve tons of images in your media library.
Once again, thank you so much for purchasing this product. As I said at the beginning, I’d be glad to help you if you have any questions relating to this product. No guarantees, but I’ll do my best to assist. If you have a more questions relating to this product, please feel free to contact me via my helpdesk support system or contact form.
Remember to include your purchase code for verification purpose.